Sometimes you will be in the situation that you need to know how to unclog an ice maker properly. Ice makers, whether countertop or undercounter models, frequently develop clogs due to mineral buildup, food particles, and lacks of cleaning. These blockages typically occur in the water line, drain hose, or ice-making mechanism itself.
The good news is that unclogging your ice maker rarely requires professional assistance. I will guide you through a simple guide to help you how to unclog an ice maker effectively.
I’ve made a comprehensive “Ice Maker FAQ” series collecting all common ice maker problems to help Ice Artisan readers quickly troubleshoot their ice maker units.
- ⚖️ Countertop vs undercounter ice makers
- 👍 Are portable ice makers worth it?
- ⚡ How much electricity does an ice maker use?
- 💧 Does an ice maker use a lot of water?
- 🪣 Do ice makers need to be drained?
- 🚫 Can ice makers cause water damage?
- 🚰 Do ice makers need water lines?
- 🔊 Are countertop ice makers loud?
- 😭 Do ice makers make a lot of noise?
- 🔗 Are countertop ice makers safe?
- ⛺ Can ice makers be used outdoors?
- 🔌 Can ice makers be left running all the time?
- 🚗 Can ice makers be used in RV?
- 🗄️ Can ice makers be installed in cabinets?
- ❄️ Do portable ice makers keep ice frozen?
- 🛠️ Can ice makers be used in garages?
- 📄 Do ice makers store ice?
- 🚀 How do ice makers make ice so fast?
- 💡 How does ice maker work?
- 🎰 How does a commercial ice maker work?
- 🛠️ How to install an undercounter ice maker?
- ❄️ How to make clear ice in ice maker?
- 🪣 How to increase ice production in ice maker?
- ⏳ How long does an ice maker take to make ice?
- 🔗 When to replace ice maker filter?
- ⏱️ When to replace ice maker?
- 💡 How to clean ice maker?
- 😭 Why does my ice maker smell bad?
- 🫗 How to drain an ice maker?
- 🪣 How to unclog an ice maker?
- 🔗 How do I unstick my ice maker arm?
- 💧 How to fix ice maker leaking water?
- ❄️ Why is my portable ice maker making too much ice?
- 🥵 Why is my ice maker hot?
- 🔌 What happens if you don’t turn off the ice maker?
- 🧊 How to fix ice maker not making ice?
Ice Artisan‘s best picks
How to unclog an ice maker?
To unclog an ice maker, you must ensure that you identify the source of the clogs, whether they are water supply lines, internal ice blockages or mineral buildups. Only after that, we can do the correct solution to unclog your ice maker.
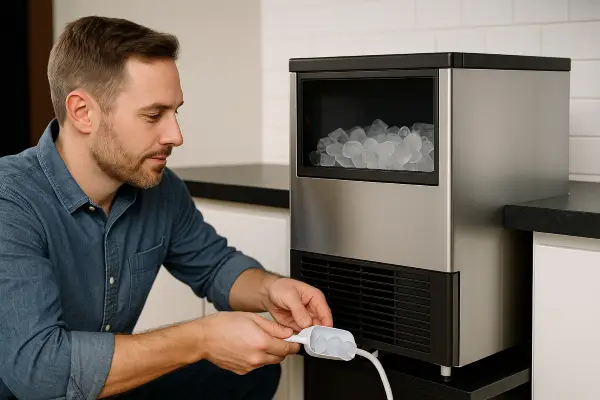
Before attempting any repairs, you must turn off and unplug your ice maker to ensure safety. Ice makers can cause serious water damage, you know?
I also recommend you to read these two articles to determine the problem that your ice maker encounters:
Find the sources of the clogs
In an ice maker, normally the clogs happen because of the ice maker’s water lines’ blockages, internal blockages, water filter and/or water inlet valve. Best advice is to check all 4 things that can cause clogs in your ice maker. So let’s unclog your ice maker.
Water supply lines’ blockages
The most common clog in your ice maker is made by the ice maker water lines. It is only happened in an undercounter ice maker. First, pull your ice maker away from the counter, then locate the water supply line, which is usually behind and at the bottom of the undercounter ice maker.
Examine the water line for kinks, folds, or cold lumps; make sure to gently straighten the line to guarantee that there are no more blockage. You can use a pipe cleaner or flexible tube to dislodge the blockage, just make sure you do not damage the line.
Place the disconnected ends to a bucket, then briefly turn on the water supply to flush out any remaining debris. You can also soak the line in a combination of vinegar and warm water first, then flush out to clean the water line. This is mostly necessary for areas with hard water, as the mineral buildups are pretty bad to ignore.
Internal blockages
It isn’t a surprise that blockages happen inside your ice maker, and for both countertop and undercounter ice makers. Sometimes ice can block the critical components, so the best way is you try to remove the ice storage out of the ice maker. If you’re not ready to do it, you need to let the door open for the ice to melt on its own. Normally it takes about 30 minutes, up to 1 hour. You can avoid this step completely if you remember to clean the ice maker regularly, but I guess not, that’s why we need to read today article.
If you’re able to remove the ice maker bin (just check the manual to do it properly), simply pour about 1 hot (not boiling) water down the hole where the ice made. Read my article on how does ice maker work to know where to pour. Just wait about 3 minutes and the magic happens. Carefully reach into the opening and remove any loosened ice blockages. Finally, drain the ice maker.
Check the water filter
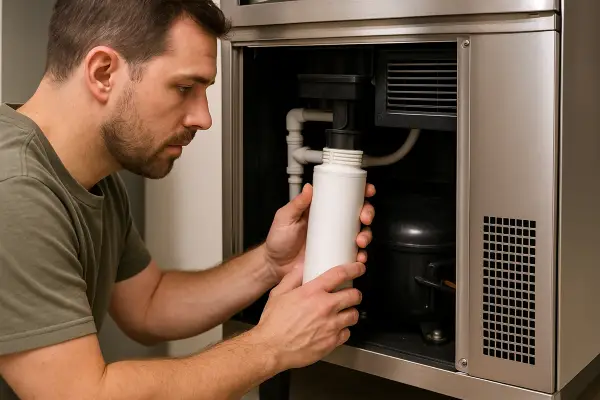
The water filter is how the ice maker prevent the mineral buildup in hard water, and it’s highly recommended to replace after 3-6 months for best effect. There is one method to examine the water filter, you can just hold it over a bucket, then turn on water and let it flow into the filter. If water can flow freely, we can use the filter again. If not, well, it’s time to replace an ice maker filter.
Check the water valve
Water inlet valve normally isn’t an issue to consider, but we come this far, why don’t examine this part to be sure that we successfully unclog the ice maker. The water inlet valve is just a part of an undercounter ice maker, so countertop machine’s owners can skip this part. Use a brush and gently clean the valve, or if you can take the valve apart, soak it in a combination of vinegar and warm water for 30 minutes.
Call for professional help to unclog the ice maker
Despite our troubleshooting, some clogs require professional help. Persistent leaking after attempted repairs indicates critical internal issues. We can’t rule out that the internal mechanical parts are beyond simple clogs, and I think it’s when I am in need. If you don’t call for professional help for these kinds of troubles, you risk your ice maker further damages. For undercounter ice makers, most top brands offer service plans and emergency repairs.
Other than that, just follow my guide on how to unclog the ice maker thoroughly, and 80% of the time, the result will be better for your ice maker.
